The Best Elderberry And Damson Jam
Elderberry and damson jam taste absolutely amazing! Anyone who knows me will know that my husband and I love making jam. We’ve been making all sorts of jams for years and have never stopped experimenting with different recipes.
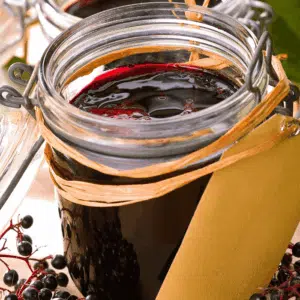
Recently, we’ve been focusing on recipes that use elderberry and damson fruit, as it’s that time of the year. The combination of these two fruits makes for the best jam ever! Not only is the flavour fantastic, but the colour is beautiful too. If you’re looking for a new jam recipe to try, then you definitely need to give this one a go!

Rachel's Recipe Pantry contains affiliate links and is a member of the Amazon Services LLC Associates Program. If you make a purchase using one of these Amazon links, we may receive compensation at no extra cost to you. See our Disclosure Policy for more information.
When to pick Elderberries
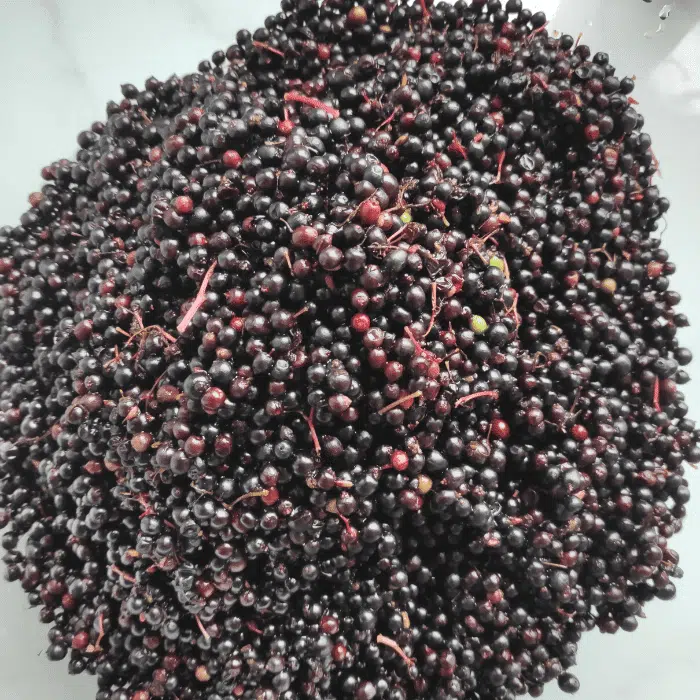
Elderberries are one of the most anticipated fruits of late summer. Around the end of August and the beginning of September, these deep purple berries are finally ready to pick. elderberries have a long tradition of being made into jam, and this is still one of the most popular ways to enjoy them. elderberry jam is not only deliciously sweet, but it also has a unique flavour that is perfect for spreading on toast or spooning over pancakes. If you’re lucky enough to find elderberries in your local area, be sure to head out and pick some before they’re all gone!
How to prepare Elderberries
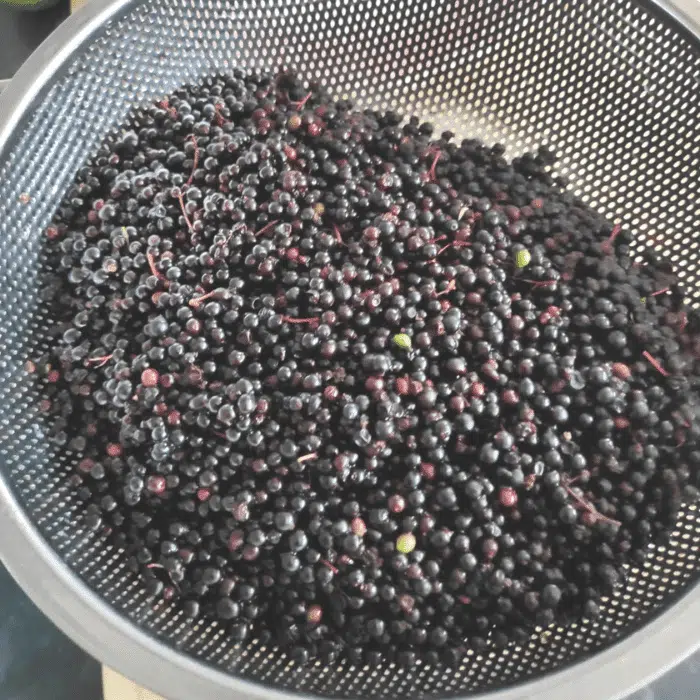
If you’re looking for a delicious and healthy way to enjoy elderberries, look no further than this guide on how to prepare them. First, rinse the berries off in cool water. Next, remove any stems or leaves.
How to prepare damsons
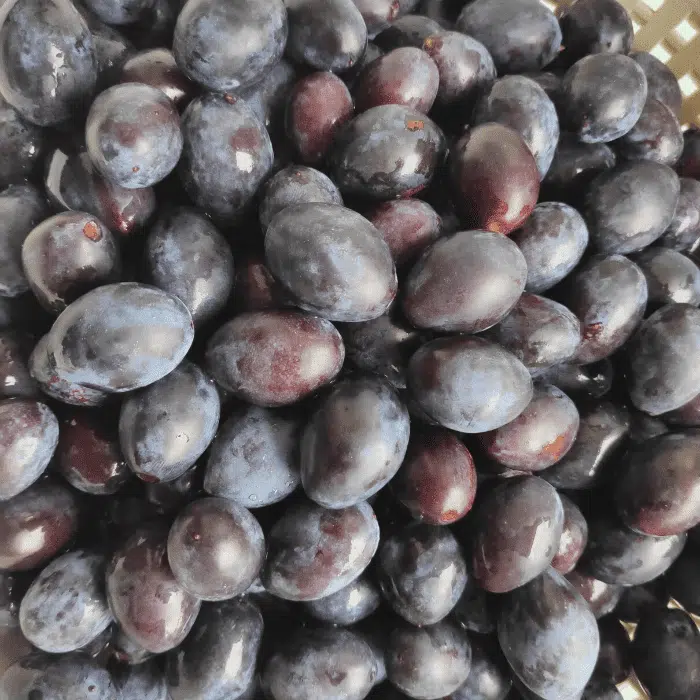
Damsons are a type of plum that is related to the sloe berry. They are small, tart, and have purple or black skin. Damsons are often used in jams, jellies, and pies. The fruit can also be used to make wine.
To prepare damsons for use in recipes, start by rinsing them off in cool water. Next, remove any stems or leaves. Leave the stones inside as they are not the easiest thing to remove as they are, plus you get the pectin from the stones!
What are the best jars for jam making?
There are a few things to consider when choosing the best jars for jam making. The first is the size of the jar. You want to make sure that the jar is big enough to hold all of the jam you plan on making.
The second is the type of lid. You want to make sure that the lid seals tightly so that no air can get in and spoil the jam.
The third is the material the jar is made out of. Glass is the best material to use because it does not absorb flavours or colours from the jam.
Fourth is to make sure the lids are poppable so that when the jam cools down in the jar, the poppable part of the lid will be sucked in, making a pop sound. Then you know your jam jars are properly vacuum sealed.
What type of sugar for jam?
I love making homemade jam, and elderberry and damson are my personal favourite. The key to making a good jam is to get the right proportion of sugar to fruit, and I’ve found that granulated sugar works just as well as the more expensive caster sugar or jamming sugar. Plus, it’s much cheaper!
So next time you’re looking to make a batch of homemade jam, don’t be afraid to use granulated sugar – it’ll do the job just fine!
Ingredients
- 1 kg Elderberries
- 1 kg Damson
- 1 kg Sugar (Granulated)

Cook the damsons first until soft Remove the damson stones and sieve through Add the sugar to the fruit Stir continuously until reduced down and thickens
Sterilize jars for jam
Wash your jam jars thoroughly, ideally use your dishwasher at a high temperature. Then using a clean sink, place your jars and lids in it and pour boiling hot water over them. You may need to boil the kettle a few times depending on how many jars you have. Leave to dry on a clean piece of kitchen towel.

How to make elderberry and damson jam
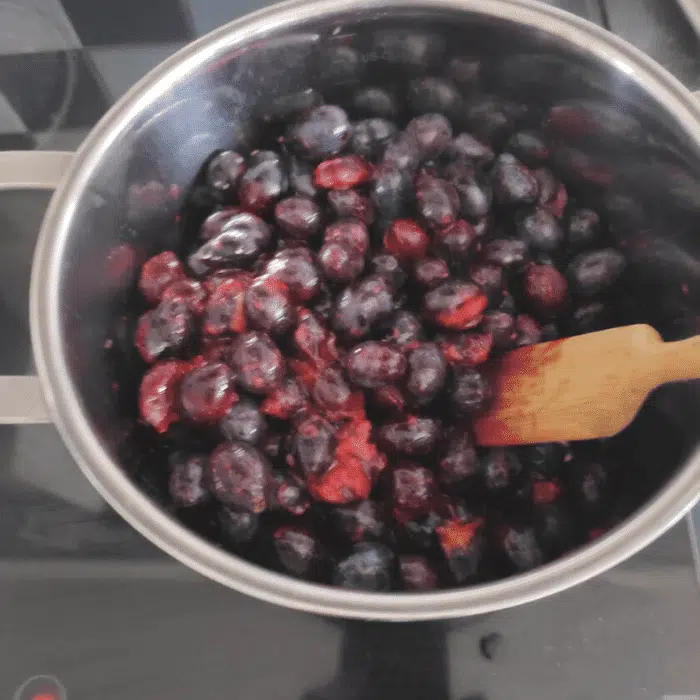
Remove the stalks from the elderberries and wash thoroughly. Do the same with the damsons but don’t remove the stones.
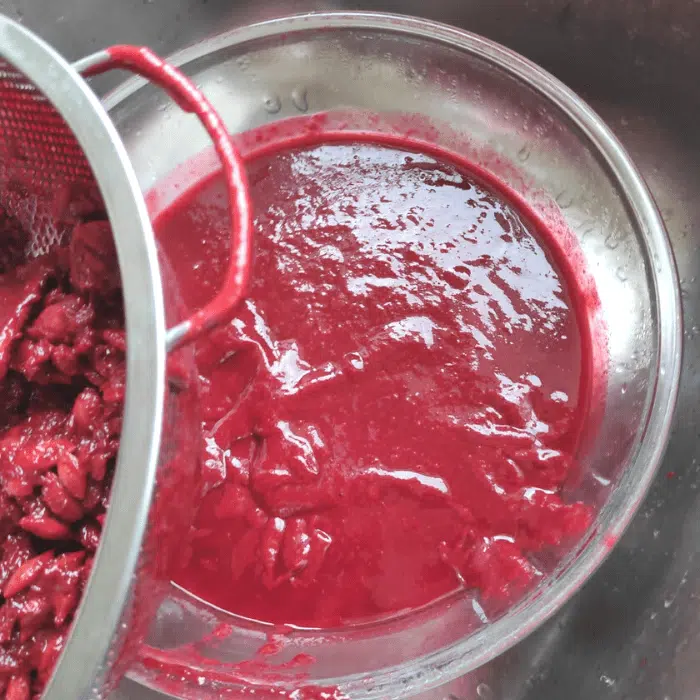
In a stainless steel pot, add the damsons and cook on medium heat until they are soft and the stones are easy to remove. Use a colander to sieve out the stones and keep the remaining juice and pulp in the pot.
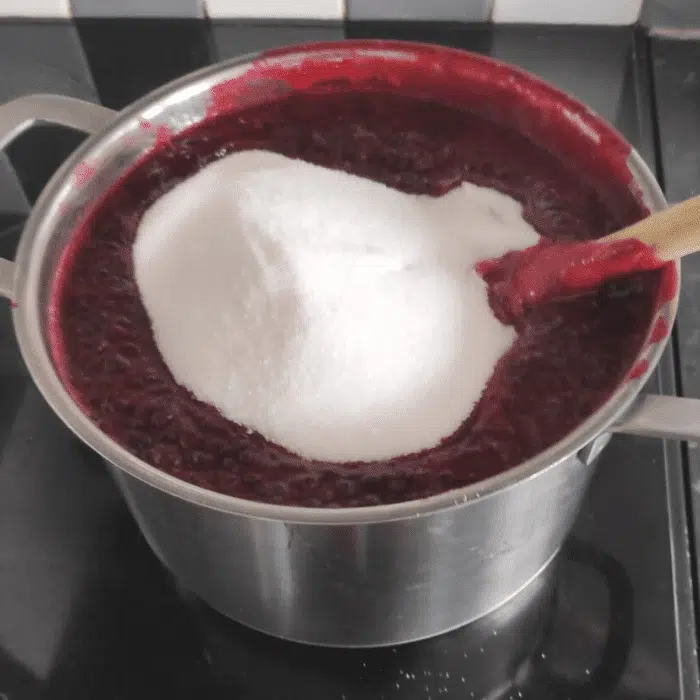
Add the elderberries and bring them to a boil. It might get a bit foamy, but it will go, or you can remove it will a ladle. Keep stirring until it starts to thicken.
This can take about 30 minutes. When it has reduced down and started to thicken slightly, add the sugar.
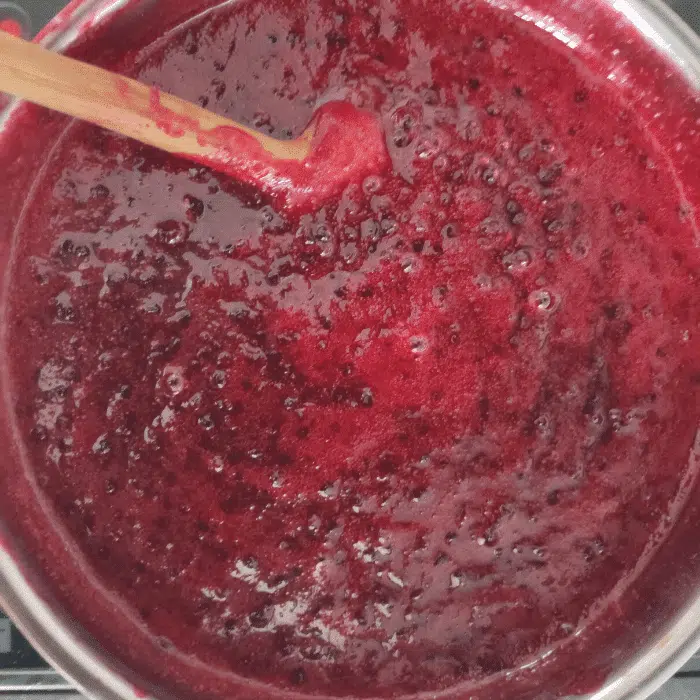
Bring to the boil again and keep stirring for about 10 to 15 minutes until the jam sets when tested. To do this, place a small plate in the freezer for 10 minutes to cool, then remove and place a tsp of jam on the plate. If the jam has skin on it or pulls slightly with your finger, it’s ready!
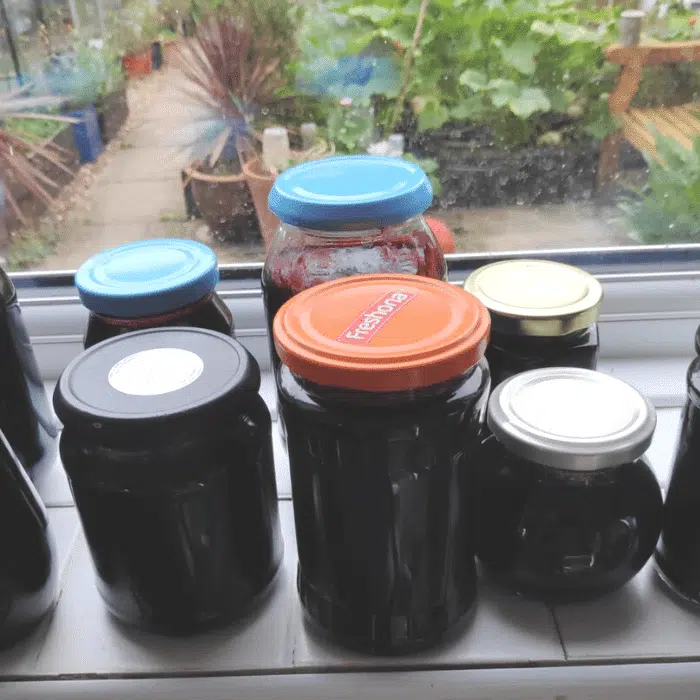
Pour into freshly sterilised jars and seal with a poppable lid. When cooled, the lids should suck in; that’s when you know the jars are sealed correctly.
What to do with jam
Jam is a versatile ingredient that can be used in both sweet and savoury dishes. If you’re looking for ways to use it up, why not try adding it to your breakfast porridge or topping a freshly toasted bagel?
Jam can also be used as an alternative topping for pancakes and waffles, or why not try making your own homemade ice creams or cheesecakes with a fruit jam swirl?
Alternatively, you could use it in baking – from chewy fruit bars to traditional jam tarts – the possibilities are endless!
The Best Elderberry And Damson Jam
Equipment
Ingredients
- 1 kg Elderberries
- 1 kg Damson
- 1 kg Sugar (Granulated)
Instructions
- Remove the stalks from the elderberries and wash thoroughly. Do the same with the damsons but don't remove the stones.
- In a stainless steel pot, add the damsons and cook on medium heat until they are soft and the stones are easy to remove. Use a colander to sieve out the stones and keep the remaining juice and pulp in the pot. Add the elderberries and bring them to a boil. Keep stirring until it starts to thicken. This can take about 30 miutes. When it has reduced down and started to thicken slightly, add the sugar.
- Bring to the boil again and keep stirring for about 10 to 15 minutes until the jam sets when tested. To do this, place a small plate in the freezer for 10 minutes to cool, then, remove and place a tsp of jam on the plate. If the jam has skin on it or pulls slightly with your finger, it’s ready!
- Pour into freshly sterilised jars and seal with a poppable lid. When cooled, the lids should suck in, that's when you know the jars are sealed correctly.