Homemade Simple Trifle Sponge Fingers | Gluten-Free
Today I’m so excited to share this delicious, homemade simple trifle sponge fingers recipe with you! Whether you have gluten sensitivity or not, these trifle sponge fingers are super easy to make, and you’ll have delicious trifle or tiramisu in no time!
Rachel's Recipe Pantry contains affiliate links and is a member of the Amazon Services LLC Associates Program. If you make a purchase using one of these Amazon links, we may receive compensation at no extra cost to you. See our Disclosure Policy for more information.
Genoise sponge for trifles
Genoise sponge is a classic French sponge cake, but originally from Italy, that’s known for its light, airy texture. It’s the perfect base for trifles and other layered desserts, making it a must-have in any dessert lover’s recipe collection. Unlike traditional American cakes, Genoise sponge uses simple ingredients like flour, eggs, sugar, and butter to create an incredibly flavorful cake.
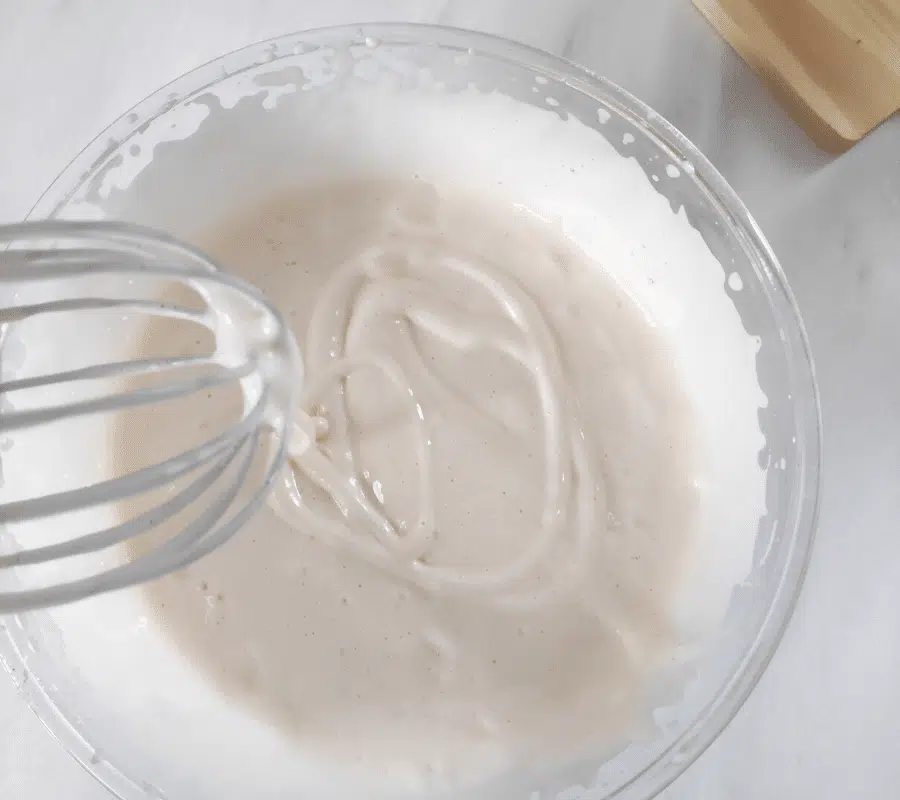
The eggs, and sometimes extra yolks, are beaten with sugar and heated at the same time to a stage known to patissiers as the ribbon stage.
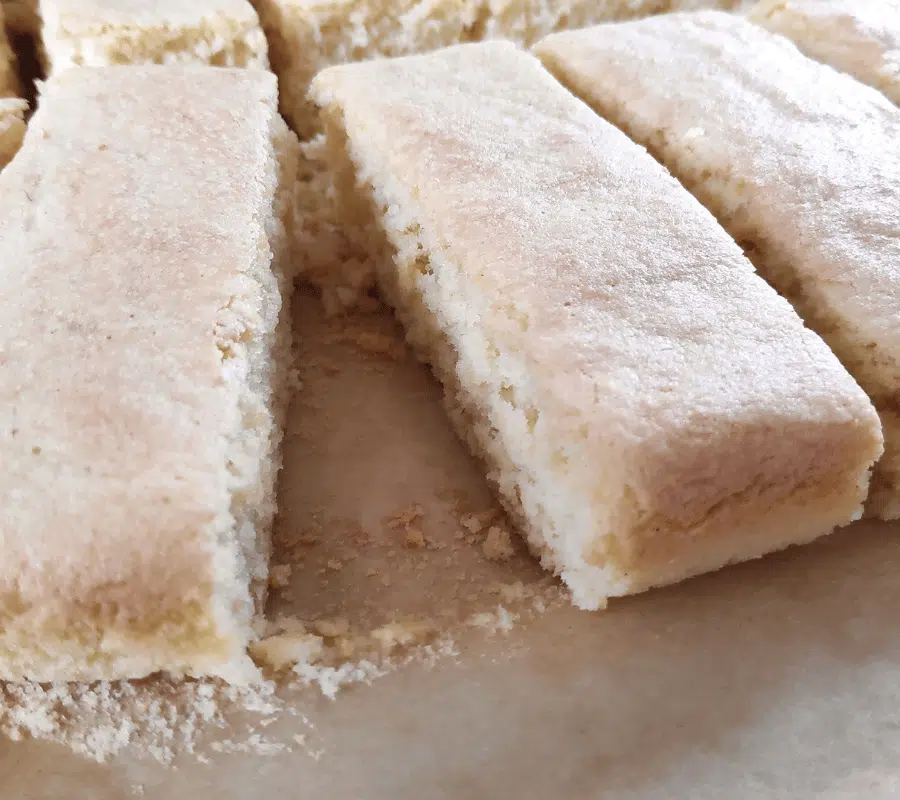
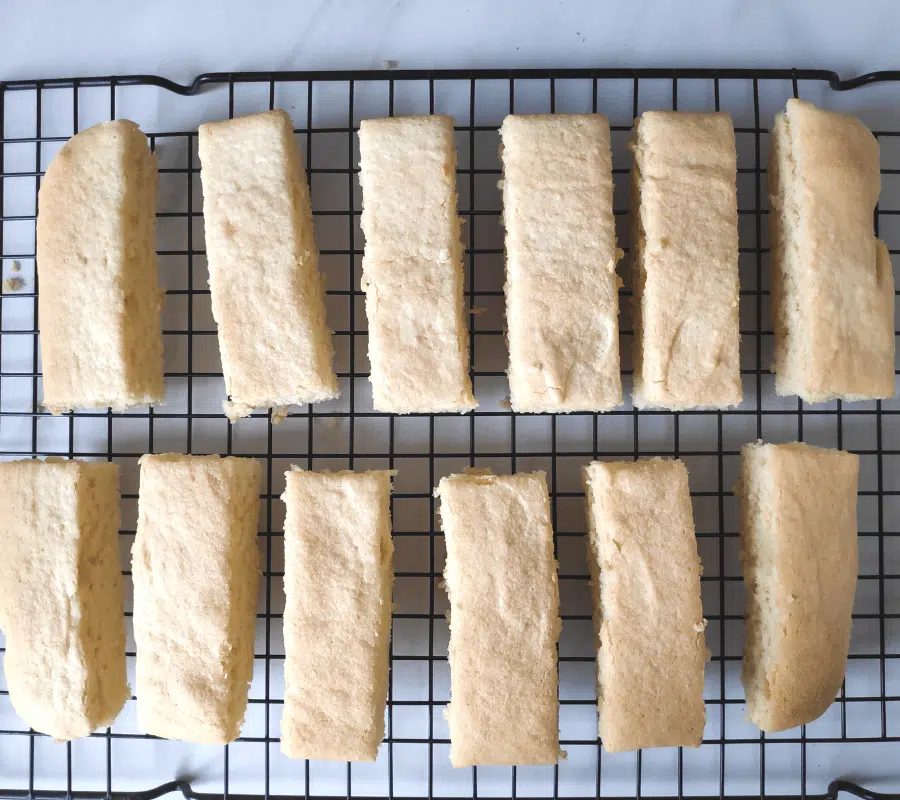
It’s usually served in thin slices or cut into trifle or sponge fingers, which are soaked with a luscious syrup before being piled high with custard and fresh fruit or cream fillings. No matter how you enjoy it, Genoise sponge will make your desserts stand out from the crowd!
Sponges for tiramisu
Tiramisu is one of the most popular Italian desserts – and trifle sponge fingers are a must-have ingredient! Without trifle sponge fingers, your tiramisu will simply not taste the same. These delicious sponges feature a unique texture that turns creamy when soaked in coffee and sweet liqueur, making them an ideal complement for the iconic mascarpone cream.
Besides giving your tiramisu an unbeatable aroma and look, trifle sponge fingers help hold the layers together like nothing else. So next time you whip up tiramisu, don’t forget to make some trifle sponge fingers to make it extra special!
Ingredients for gluten-free trifle sponge recipe
- 125 g Gluten-Free Flour (or plain/all-purpose flour)
- 125 g Caster Sugar
- 3 Eggs
- 25 g Butter

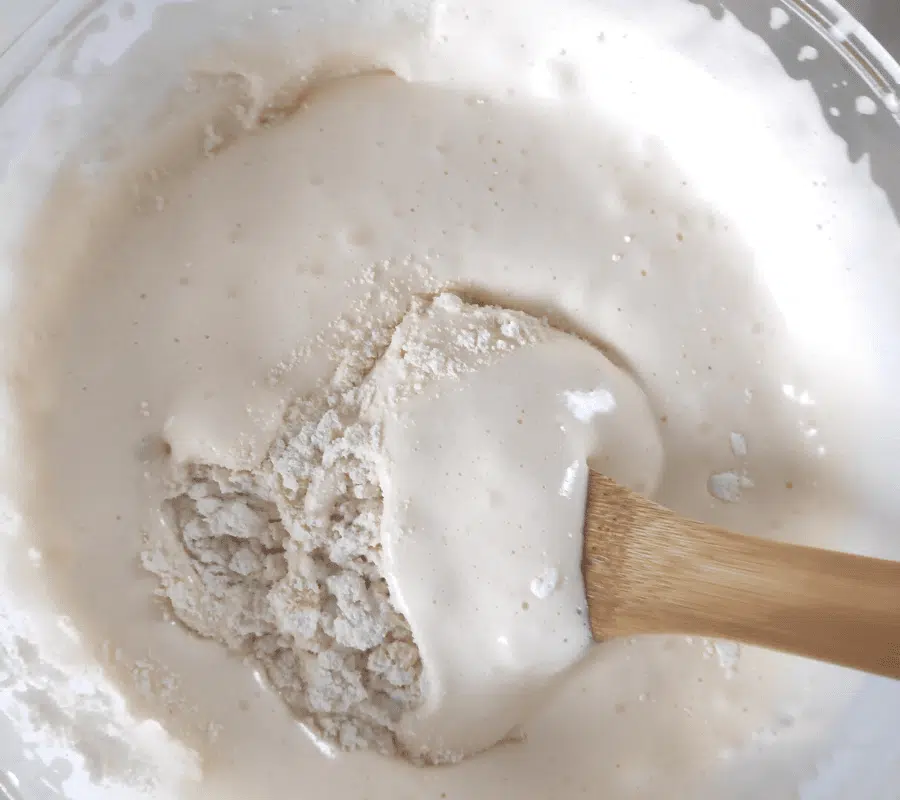
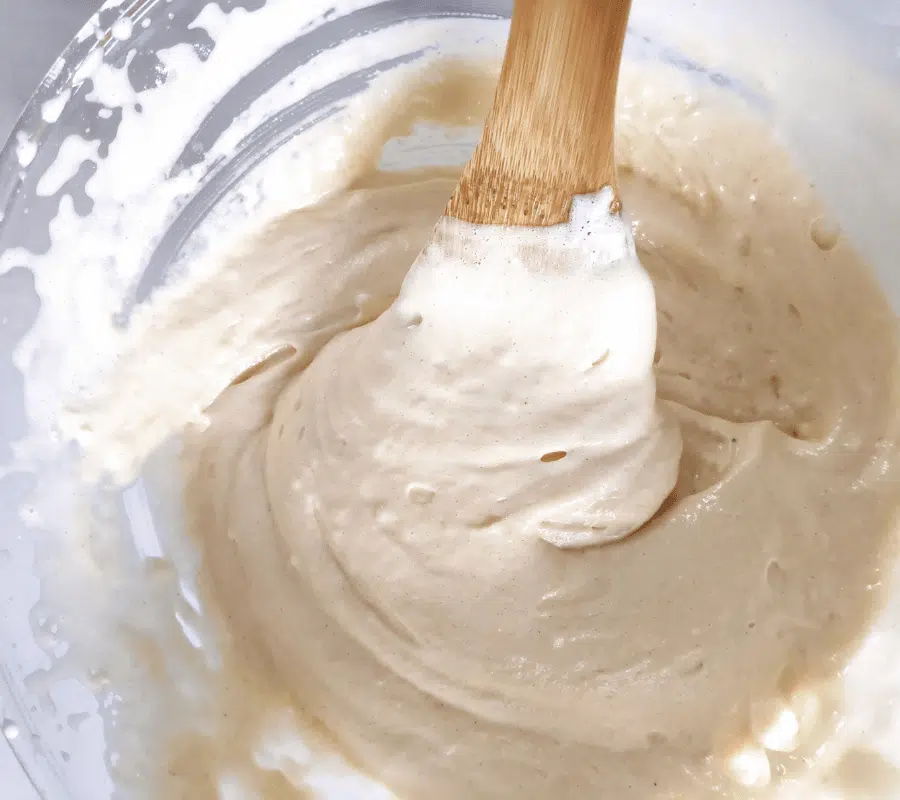
Whisk the eggs and sugar in a bowl over simmering water until thick Fold in the sifted flour Drizzle the melted butter and slowly mix in. When mixing be careful not to knock out the whisked air.

How to make a dessert sponge to soak up the alcohol
Dairy-free trifle sponges
Have no fear if you want to make a trifle without the dairy in traditional trifle sponges. Whether vegan, lactose-intolerant, or simply trying to avoid dairy, these sponge fingers are a delicious alternative that still tastes and looks like luxury. These sponges can hold up all your favourite trifle fruit and custard, just as conventional trifles do. Just add your chosen type of butter.
How long will trifle sponges keep?
Trifle sponges have been known to stay fresh for several weeks and even months when stored correctly. If trifle sponge fingers are kept in an airtight container, away from direct sunlight and at cooler temperatures, they can last longer.
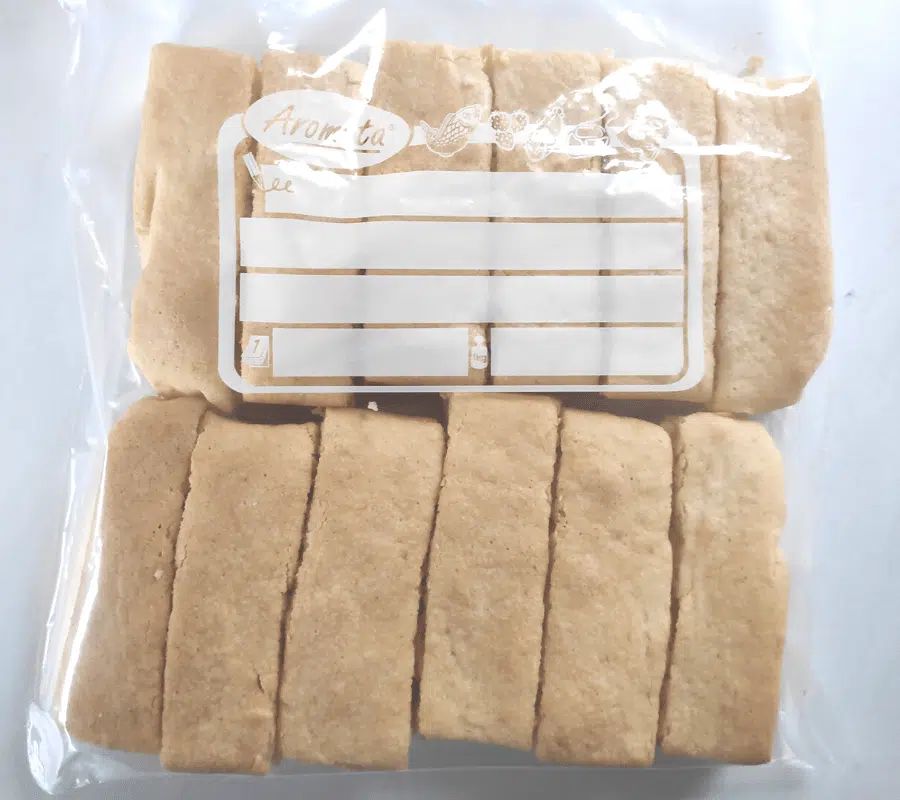
Storing them in the refrigerator will greatly extend their shelf life and keep them fresher for longer. It is worth noting that trifle sponges will also remain edible for months if frozen and packed properly. (This is my preferred method). Make a big batch, so you have plenty to go at throughout the year.

Homemade Simple Trifle Sponge Fingers | Gluten-Free
Equipment
Ingredients
- 125 g Gluten-Free Flour (or plain or all purpose flour)
- 125 g Caster Sugar
- 3 Eggs
- 25 g Butter
Instructions
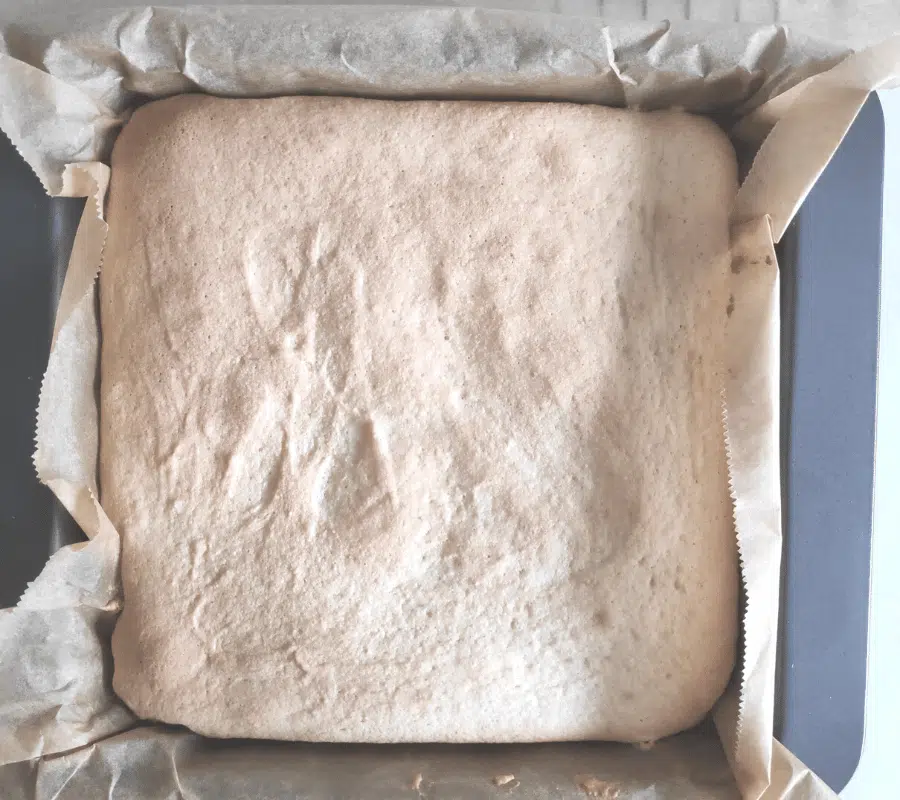
- Preheat the oven to 180°c/160°cFan/350°F/Gas 4 and grease and line with baking paper a square brownie tin 20cm.
- Place the eggs and sugar in a bowl over a pan of simmering water and whisk with an electric whisk until very thick and leaves a trail.
- Remove from the heat and whisk a bit more. Sift the flour into the mixture and gently fold in. Drizzle the melted butter on top and mix slowly until all is combined without knocking out the air.
- Pour into the tin and spread out evenly with the back of a tablespoon or spatula. Bake in the oven for 20 minutes until golden brown.
- Leave in the tin for 5 minutes, then lift out holding on to the baking paper and leave to cool completely on a wire rack before cutting into fingers.