Karpatka: Polish Puff Cream Cake Recipe
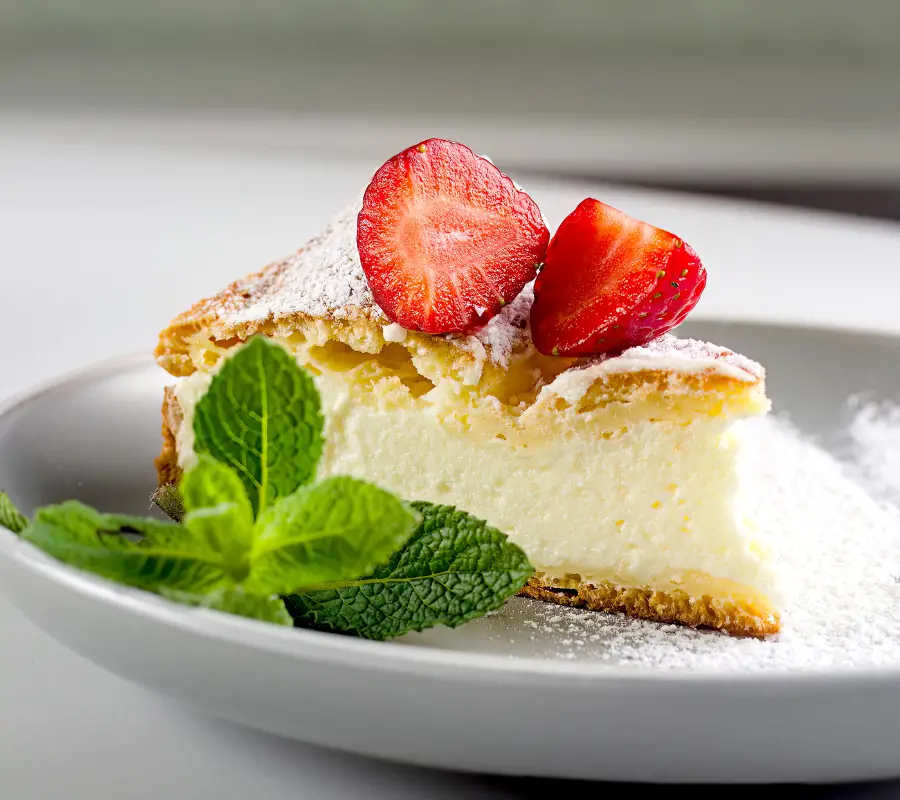
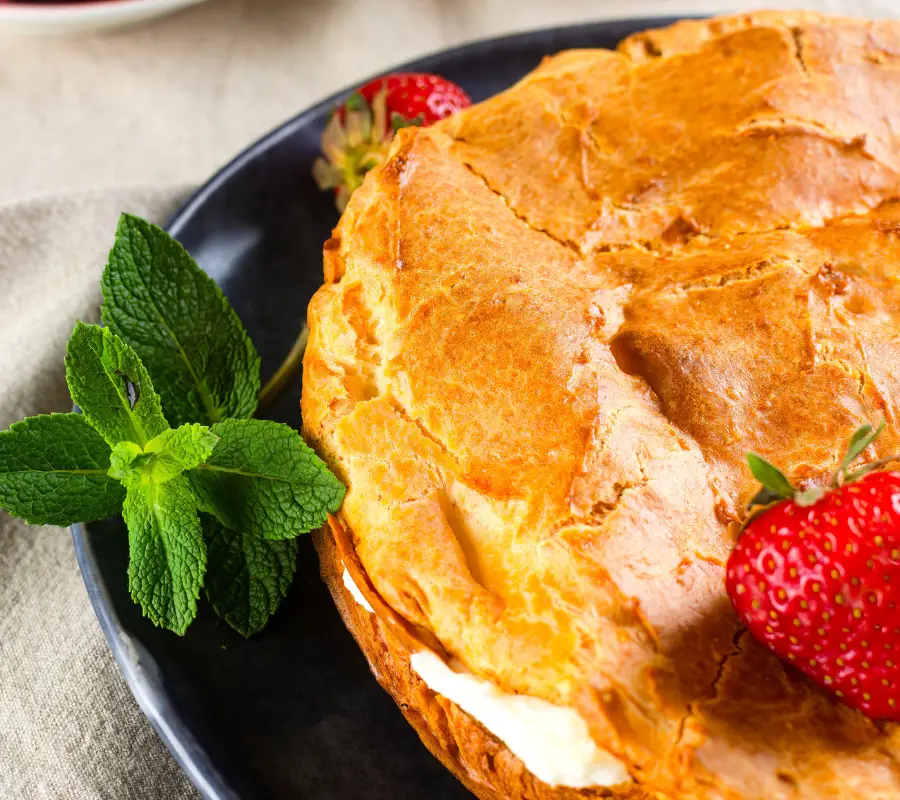
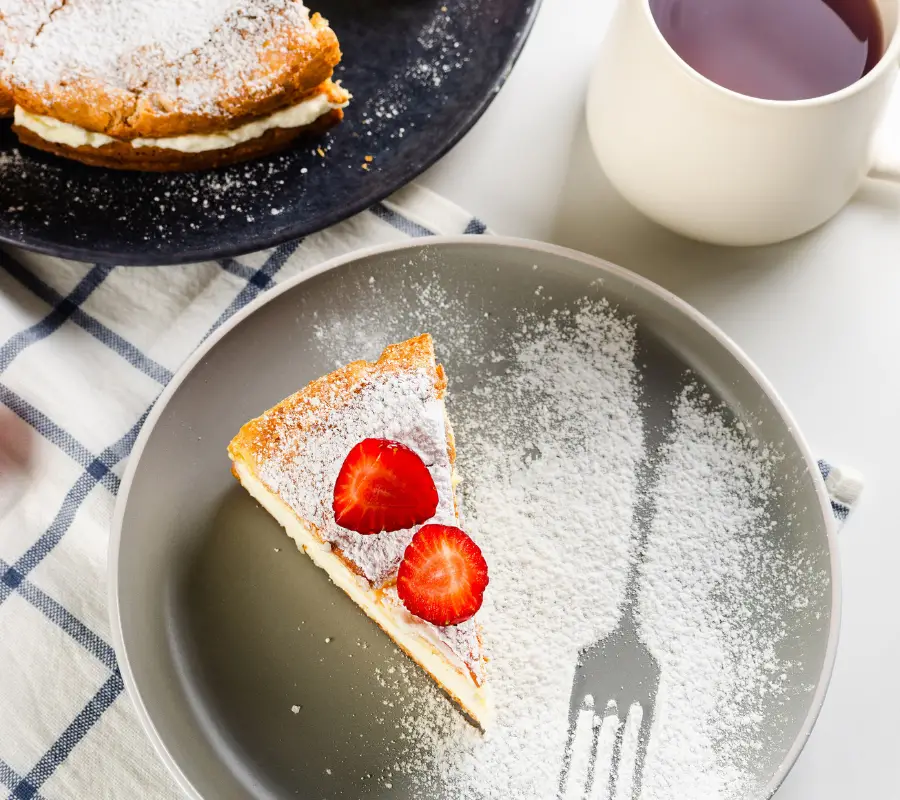
Discover the delights of Karpatka, a sumptuous Polish puff cake dessert that brings the essence of the Carpathian Mountains to your kitchen. With its two layers of light and airy choux pastry, complemented by a rich, smooth pastry cream, this cake promises a taste that balances decadent textures with just-right sweetness. It’s a treat that is as wonderful to look at, with its dusting of powdered sugar mimicking the rugged peaks of mountains, as it is to eat.

Creating Karpatka at home is an enjoyable experience that allows for personalisation. Whether you’re looking to adapt the recipe with alternative ingredients or seeking guidance for flawless preparation, this cake is both impressive and accessible. Designed to suit bakers of varied skill levels, you’ll find that perfecting this dessert is a rewarding endeavour, complete with helpful hints and clear instructions.
Why You’ll Love This Recipe
- Embrace the unique charm of Karpatka, a polish dessert inspired by the Carpathian landscape.
- Benefit from adaptable ingredient options and practical baking tips to enhance your experience.
- Follow easy-to-understand, step-by-step guidance to ensure a delightful outcome.
- A lovely dessert for afternoon tea.
- Last for 3 days in the fridge.
Component Options for Cream Puff Cake
- All-Purpose Flour/Plain: Ideal for most baking needs; consider pastry flour for a finer texture.
- Cornflour: Preferred for its neutral taste; may be substituted with potato starch or a flour-starch mixture.
- Eggs: Three needed for the choux pastry and four yolks for the cream. Use leftover egg whites for meringues.
- Milk & Water: Necessary for the pastry; use only water if preferred. The cream requires full-fat milk, which is non-substitutable.
- Vanilla Essence & Salt: Enhances flavour in both pastry and cream.
- Unsalted Butter: Required for both dough and cream; melt for dough, softened for cream.
- Sugar: Granulated sugar for the pastry and cream; icing sugar for decoration.
Tip: Ensure ingredients like eggs and butter are at room temperature to achieve the best texture in your baking.

Top Tips
Accurately weighing your ingredients with a digital scale is crucial, particularly in baking, to ensure consistent results. Estimating the measurements with cups is less precise and can lead to variability in the end product.
Organising your ingredients before you begin cooking can streamline the process considerably. Even if a recipe seems intricate due to numerous steps, having everything ready can cut the actual cooking time to under an hour.
For quicker cooling, spread pastry cream in a broad, shallow container. A greater surface area allows for faster temperature reduction, making it reach room temperature more effiiciently.
Opt for a brief chilling period of 30 minutes to an hour for your pastry cream in the refrigerator to expedite the cooling. Be cautious not to overly cool it, as you may need to allow it to warm slightly before use.
Employ an instant-read thermometer to ensure your pastry cream and butter are the same temperature for a smooth mousseline cream. Differences in temperature can cause the mixture to be either too runny or too firm.
Preparing your pastry cream well in advance, such as the evening before, can ease the baking process. Allowing it to sit overnight at room temperature is beneficial when aiming for a flawless mousseline cream for your Karpatka cake.
If your pastry cream starts to clump as it thickens, a brisk and firm whisking should smooth it out. A metal whisk is recommended for its strength in breaking up any lumps that may form.
Lastly, the absence of a mixer is not an impediment. Mixing the eggs into a choux pastry using a wooden spoon might demand extra effort, but rest assured, it will not affect the texture of your pastry.

Creating Your Pastries
Be sure to check out the full recipe and ingredient list on the recipe card at the bottom of this post.
Crafting the Pastry Base
- Preparing Your Baking Environment:
- Set your oven to a warm 200C/390F.
- Line a 23cm/9-inch springform tin with parchment and brush the sides with oil or butter.
- Creating the Dough Mixture:
- In a saucepan, blend together water, milk, butter, sugar, salt, and vanilla.
- Warm this blend over a medium flame until it just begins to bubble.
- Mixing in the Flour:
- Once off the flame, whisk in the flour till thoroughly combined.
- Return to a low heat, stirring until the dough forms a singular mass with a light film forming underneath.
- Cooling and Egg Incorporation:
- Remove the dough to a mixer, letting it sit to cool for ten minutes.
- One by one, beat each egg in until the mixture is smooth and cohesive.
- Dividing and Baking the Dough:
- Distribute this dough into your two prepared tins.
- Place in the oven to bake for 25-30 minutes, looking for a rich, golden brown shade.
- Let it cool off completely on a wire rack before moving on to your next steps.
Preparing the Creamy Filling
- Simmering the Base:
- Warm up milk, a portion of the sugar, and pinch of salt in a saucepan until it simmers.
- Combining Yolks and Dry Ingredients:
- Whisk the remaining sugar with cornflour, egg yolks, and more vanilla in a separate bowl.
- Ensure you reach a smooth texture without any lumps.
- Tempering and Cooking the Cream:
- Slowly pour in half of your heated milk to the yolk mix, whisking constantly to blend.
- Transfer this combined mixture back to the remaining milk in the saucepan.
- Thickening the Pastry Cream:
- Gently heat this blend until it thickens into a custard, for 5-7 minutes.
- If any lumps form, beat them out until they’re seamlessly dissolved.
- Cooling the Pastry Cream:
- Once off the heat, pour this cream into a flat dish.
- Overlay it with cling film making sure there’s no air in between and cool till it’s room temperature.
- Creating Mousseline Cream:
- Whip butter and a spoonful of sugar until it’s pale and airy.
- Revive the chilled pastry cream with a brisk whip to smooth any stiffness.
- Finalising the Filling:
- Introduce your pastry cream gradually into the butter, whisking at a medium pace after each addition, until fully blended.
- Scrape the edges and give one final spin for 10 seconds.
- Assembly and Setting:
- Proceed with layering your Karpatka cake and allow it to set cool.
- Just before serving, grace with a light dusting of icing sugar.
Frequently Asked Questions
- Duration of Freshness in Refrigerator: Your Karpatka cake remains fresh for up to three days when refrigerated.
- Choux Pastry: Pre-made and refrigerated choux pastry should be used within 2 to 3 days before baking.
- Freezing Possibilities:
- Baked Cake Layers: Can be frozen and are good for one month.
- Cream Component: Freezing is not suitable.
- Unbaked Choux Pastry: Avoid freezing.
Common Queries
What Constitutes the Classic Karpatka Cake Filling?
The traditional filling for Karpatka cake is a custard cream, which is made by combining egg yolks, sugar, milk, and flour or cornstarch to create a thick and smooth paste. This custard is then enriched with butter for a creamy consistency.
Instructions to Incorporate Mascarpone Cream into Karpatka
To use mascarpone cream in Karpatka, prepare the basic custard, then once cooled, lightly fold in the mascarpone to maintain the creaminess. Here’s a simplified process:
- Prepare custard base: As normal with egg yolks, sugar, and milk.
- Cool the custard: Allow it to reach room temperature.
- Incorporate mascarpone: Gently mix the mascarpone into the cooled custard to keep it light and airy.
Differences Between Karpatka and Napoleonka Desserts
Karpatka and Napoleonka are both distinguished Polish pastries with notable differences:
- Texture: Karpatka utilizes choux pastry, giving it a lighter texture, whereas Napoleonka has layers of flaky puff pastry.
- Filling: Although both can contain custard cream, Napoleonka often alternates cream with layers of pastry.
- Appearance: Karpatka is reminiscent of the Carpathian mountains with a more rugged surface; Napoleonka is typically smoother with clearly defined layers.
Crafting a Vegan Karpatka
To create a vegan version of the Karpatka:
- Choux pastry: Use plant-based butter, non-dairy milk, and a flaxseed egg substitute.
- Custard: Opt for plant-based milk, vegan butter, and possibly a thickening agent like agar-agar.
- Combine: Assemble as you would traditional Karpatka, ensuring all ingredients meet vegan standards.
Locating Karpatka in Local Bakeries
To find a bakery offering Karpatka near you:
- Search online: Utilise search engines or bakery directories specifying your location.
- Engage on social media: Request recommendations from local groups or forums.
- Visit Polish community centres: They may have information on where to find authentic Polish baked goods.
What Sets Carpathian Region Dessert Apart from Other Polish Cakes?
Distinctive features of the dessert from the Carpathian region, specifically Karpatka, include:
- The rough, mountain-like appearance of its choux pastry layers.
- The rich, creamy custard filling that contrasts with its light pastry.
- Its cultural significance and inspiration from the Carpathian mountain range.

Karpatka: Polish Puff Cream Cake Recipe
Ingredients
Dough
- 75 ml Milk (Full-fat)
- 75 ml Water
- 75 g Unsalted Butter
- 1 tbsp Sugar
- 1 tsp Salt
- ½ tsp Vanilla Extract
- 100 g Plain Flour (Sifted – all-purpose)
- 3 Eggs
Cream
- 600 ml Full-fat Milk
- 160 g Granulated Sugar
- ½ tsp Salt
- 50 g Cornflour (sifted)
- 1 tsp Vanilla Extract
- 4 Egg Yolks
- 200 g Unsalted Butter (Softened)
- 15 g Granulated Sugar
- Icing Sugar (for decoration (optional))
Instructions
- Set your oven to a warm 200C/390F. Line two 23cm/9-inch springform tins with parchment and brush the sides with oil or butter.
DOUGH MIXTURE
- In a saucepan, blend together water, milk, butter, sugar, salt, and vanilla. Warm this blend over a medium heat until it just begins to bubble.
Mixing in the flour
- Once off the heat, whisk in the flour till thoroughly combined. Return to a low heat, stirring until the dough forms a singular mass with a light film forming underneath.
Cooling and egg incopororation
- Remove the dough to a mixer, letting it sit to cool for ten minutes. One by one, beat each egg in until the mixture is smooth and cohesive.
Dividing and baking the dough
- Distribute this dough into your two prepared tins. No need to be levelled out this unevenness will create random bubbles on the surface of the cake layers during the baking, which represent the Carpathian mountains.
- Place in the oven to bake for 25-30 minutes, looking for a rich, golden brown shade. Leave to cool in the tin for 10 minutes then let it cool off completely on a wire rack before moving on to your next steps.
CREAMY FILLING
- Warm up milk, a portion of the sugar, and pinch of salt in a saucepan until it simmers.
Combining Yolks and Dry Ingredients:
- Whisk the remaining sugar with cornflour, egg yolks, and more vanilla in a separate bowl.
- Ensure you reach a smooth texture without any lumps.
Tempering and Cooking the Cream:
- Slowly pour in half of your heated milk to the yolk mix, whisking constantly to blend.
- Transfer this combined mixture back to the remaining milk in the saucepan.
Thickening the Pastry Cream:
- Gently heat this blend until it thickens into a custard, for 5-7 minutes.
- If any lumps form, beat them out until they’re seamlessly dissolved.
Cooling the Pastry Cream:
- Once off the heat, pour this cream into a flat dish.
- Overlay it with cling film making sure there’s no air in between and cool till it’s room temperature.
Creating Mousseline Cream:
- Whisk the softened butter and a spoonful of sugar until it's pale and airy. Set aside
- Revive the chilled pastry cream with a brisk whip to smooth any stiffness.
Finalising the Filling:
- Introduce your pastry cream gradually into the butter, whisking at a medium pace after each addition, until fully blended.
- Scrape the edges and give one final spin for 10 seconds.
Assembly and Setting:
- Proceed with layering your Karpatka cake. Using a springform tin line the sides with baking paper and place one layer of the baked cake on the base. Press down slightly then add the cream. Top with the other layer and allow it to set in the fridge for 2 – 3 hours.
- Just before serving, grace with a light dusting of icing sugar.